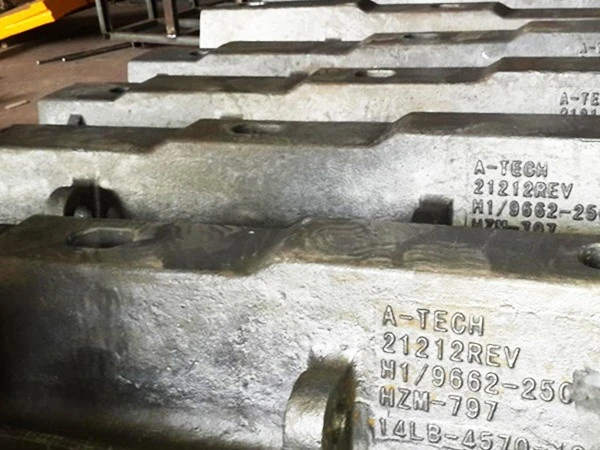
A sag mill liner is a crucial component in the mining and mineral processing industry, protecting the mill shell from wear and tear while optimizing the grinding process. Over time, however, these liners can become worn, damaged, or develop sags, which can compromise the mill's efficiency and performance. As a leading Sag Mill Liner supplier, I understand the importance of proper liner repair and maintenance. In this blog post, I will share some expert tips on how to repair a sag mill liner effectively.
Assessing the Damage
The first step in repairing a sag mill liner is to conduct a thorough assessment of the damage. This involves inspecting the liner for signs of wear, cracks, chips, or sags. Use a measuring tool to determine the extent of the sag and identify any areas that require immediate attention. It's also important to check the condition of the mill shell and other components to ensure that they are not contributing to the problem.
During the inspection, pay close attention to the following areas:
- Liner Surface: Look for signs of excessive wear, such as grooves, scratches, or uneven surfaces. These can indicate that the liner is not performing optimally and may need to be replaced.
- Liner Edges: Check the edges of the liner for cracks or chips. These can weaken the liner and cause it to break or come loose during operation.
- Liner Bolts: Inspect the bolts that hold the liner in place. Make sure they are tight and in good condition. Loose or damaged bolts can cause the liner to shift or vibrate, leading to further damage.
- Mill Shell: Examine the mill shell for signs of wear or damage. If the shell is worn or damaged, it can affect the performance of the liner and cause premature failure.
Preparing for Repair
Once you have assessed the damage, it's time to prepare for the repair process. This involves gathering the necessary tools and materials, as well as ensuring that the work area is safe and clean.
Here are some essential tools and materials you will need:
- Welding Equipment: A welding machine is required to repair any cracks or holes in the liner. Make sure you have the appropriate welding rods and safety equipment, such as gloves, goggles, and a welding helmet.
- Cutting Tools: You may need to use cutting tools, such as a grinder or a plasma cutter, to remove any damaged or worn sections of the liner.
- Measuring Tools: Measuring tools, such as a tape measure, a level, and a caliper, are essential for ensuring that the liner is installed correctly and that the sag is within acceptable limits.
- Liner Replacement Parts: Depending on the extent of the damage, you may need to replace some or all of the liner. Make sure you have the correct replacement parts on hand before you begin the repair process.
- Cleaning Supplies: Cleaning supplies, such as a wire brush and a solvent, are necessary for cleaning the liner and the mill shell before welding or installation.
Before you begin the repair process, make sure the work area is safe and clean. Remove any debris or equipment from the area, and ensure that there is adequate ventilation. Wear appropriate safety gear, such as gloves, goggles, and a hard hat, at all times.
Repairing the Sag Mill Liner
Once you have prepared for the repair process, it's time to start repairing the sag mill liner. The repair process will depend on the extent of the damage and the type of liner you are working with. Here are some general steps to follow:
Step 1: Remove the Damaged Liner
If the liner is severely damaged or worn, it may need to be removed and replaced. Use a cutting tool to remove any damaged or worn sections of the liner, and then carefully lift the liner out of the mill. Make sure you have a safe and stable way to support the liner during removal.

Step 2: Clean the Mill Shell
Before installing the new liner or repairing the existing liner, it's important to clean the mill shell. Use a wire brush and a solvent to remove any dirt, grease, or debris from the shell. This will ensure that the liner adheres properly to the shell and that the repair is successful.
Step 3: Repair the Liner
If the liner is only slightly damaged or worn, it may be possible to repair it instead of replacing it. Here are some common repair methods:
- Welding: Welding is a common method for repairing cracks or holes in the liner. Use a welding machine to fill the cracks or holes with welding rods, and then grind the surface smooth.
- Patching: Patching is another method for repairing small holes or cracks in the liner. Use a patch made of the same material as the liner, and then weld or bolt it in place.
- Resurfacing: Resurfacing is a method for restoring the surface of the liner. Use a grinder or a milling machine to remove the worn or damaged surface of the liner, and then apply a new surface coating.
Step 4: Install the New Liner
If the liner needs to be replaced, carefully lower the new liner into the mill and align it with the mill shell. Use a measuring tool to ensure that the liner is level and that the sag is within acceptable limits. Then, use bolts or welding to secure the liner in place.
Step 5: Test the Mill
Once the repair or replacement is complete, it's important to test the mill to ensure that it is operating properly. Start the mill and run it for a few minutes, checking for any unusual noises or vibrations. If everything appears to be working correctly, gradually increase the speed and load of the mill and continue to monitor its performance.
Maintenance and Prevention
After repairing or replacing the sag mill liner, it's important to implement a regular maintenance and prevention program to ensure that the liner lasts as long as possible. Here are some tips to help you maintain your sag mill liner:
- Inspect the Liner Regularly: Conduct regular inspections of the liner to check for signs of wear, damage, or sags. This will allow you to detect any problems early and take corrective action before they become more serious.
- Clean the Liner and Mill Shell: Keep the liner and mill shell clean by removing any dirt, grease, or debris on a regular basis. This will prevent the buildup of material that can cause wear and damage to the liner.
- Lubricate the Bolts: Lubricate the bolts that hold the liner in place to prevent them from rusting or seizing. This will ensure that the bolts remain tight and that the liner stays in place.
- Monitor the Mill's Performance: Monitor the mill's performance, including its speed, load, and power consumption. Any significant changes in these parameters could indicate a problem with the liner or other components of the mill.
- Replace the Liner as Needed: Even with proper maintenance, a sag mill liner will eventually need to be replaced. Keep track of the liner's age and condition, and replace it when it reaches the end of its useful life.
Conclusion
Repairing a sag mill liner is a complex process that requires careful planning, preparation, and execution. As a Sag Mill Liner supplier, I have the expertise and experience to help you repair your sag mill liner quickly and effectively. Whether you need a simple repair or a complete replacement, I can provide you with the high-quality products and services you need to keep your mill running smoothly.
If you are experiencing problems with your sag mill liner or need to replace it, please don't hesitate to contact me. I would be happy to discuss your needs and provide you with a free quote. Together, we can ensure that your mill is operating at peak performance and that your production goals are met.
References
- "Mining Mill Liners: A Comprehensive Guide." Mining Technology, [Publication Date].
- "Sag Mill Operation and Maintenance." Mineral Processing and Extractive Metallurgy Review, [Volume], [Issue], [Publication Date].
- "The Importance of Mill Liner Design and Maintenance." International Journal of Mineral Processing, [Volume], [Issue], [Publication Date].